Portable Packet Station - Mobilinkd TNC
October 27, 2021 (WORKING DRAFT)
In this article we'll focus on installing and configuring a Raspberry Pi as an offline portable packet station using a Mobilinkd TNC. This is be no means the only way to set this up, but this is the exact approach that I use for my Raspberry Pi 3B+ and Mobilinkd TNC2 deployments.
It will have the ability to:
- Send and receive email through the Winlink email system.
- Use all APRS capabilities offered by YAAC.
- Use the AX.25 tools to perform basic packet operations such connecting to a BBS.
Important Notes
You have an external WiFi USB adapter installed and followed the base installation described in Offgrid Raspberry Pi Setup. The onboard WiFi and Bluetooth do not play well together, so the external WiFi adapter is strongly recommended.
You need to connect your Pi to an ethernet network as we need temporary access to the Internet for this installation.
Your OK with my philosophy of only installing what is required. No more, no less.
(Optional) Connect your GPS dongle.
Log into your Pi using a VNC client.
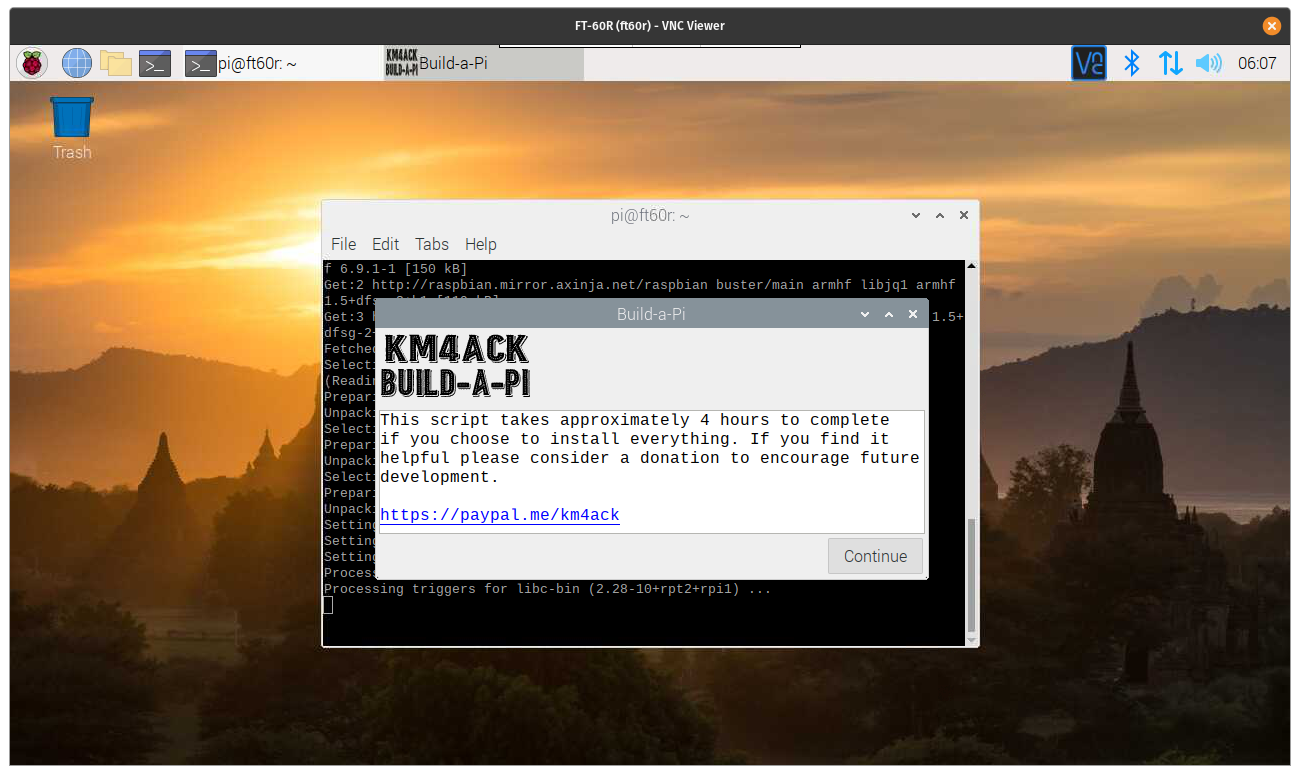
Open a terminal and run the following command to start the Build a Pi installer. Build-A-Pi 3.1.2 was used at the time of this writing.
$ git clone https://github.com/km4ack/pi-build.git \
  $HOME/pi-build && bash $HOME/pi-build/build-a-pi
Enter your call sign when prompted.
Under Base Applications, select:
- GPS
- AX25
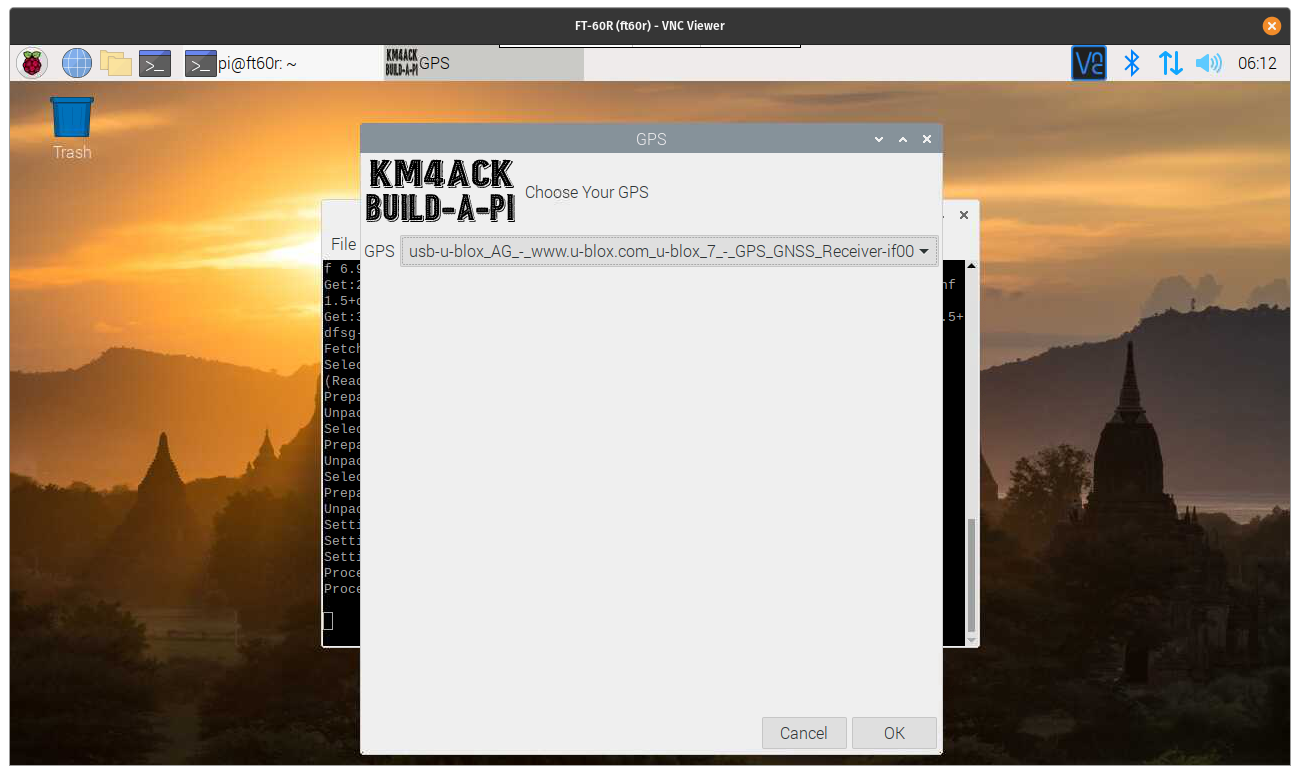
Configure your GPS.
Skip the FLDIGI Suit. There will be a future article where we add this suite to our packet station.
Under Ham Applications, select:
- PAT
- YAAC
Provide your Winlink details.
Skip the Utilities. There will be a future article where we install BPQ.
After the install, click the "Exit" button.
Open a web browser on the Pi and visit Pat at http://localhost:8080. This is needed so that Pat can fetch the latest RMS gateways. You should see a message in the console when the RMS gateway list is downloaded. This is also a good time to test a quick Telnet session to ensure you have basic connectivity to Winlink without using RF.
Disconnect your ethernet cable and reboot. Internet access is no longer required.
Post Installation Configuration and Testing
Note: No Internet access is required for this section.
Perquisites
Ensure that your radio has already been configured to work with your Mobilinkd TNC.
Ensure that your radio is turned on.
Ensure that your Mobilinkd is turned on and is not paired to any other device such as your phone.
Tune your radio to the appropriate frequency (145.710) Remember, there is no CAT control
Bluetooth Paring
In general, you should only need to pair the Moblink TNC once with your Pi.
Log into the Pi via VNC.
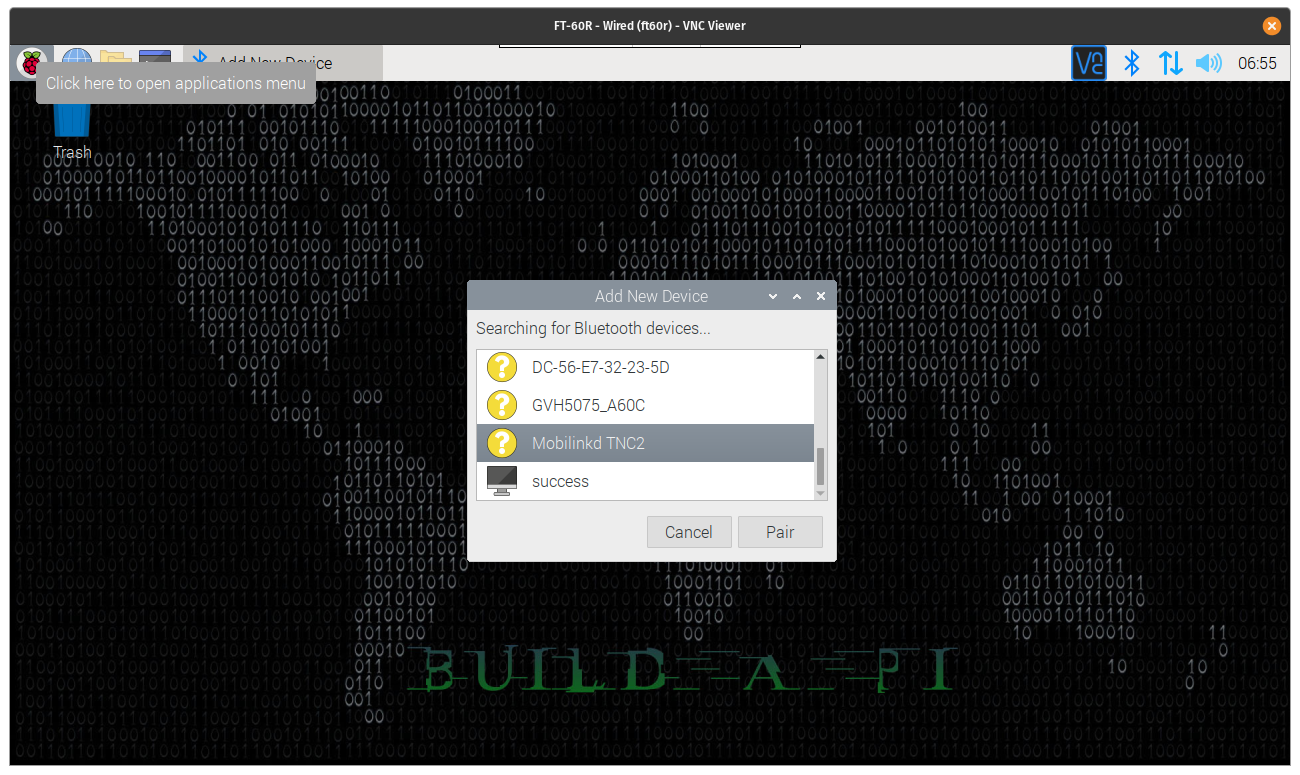
Click the Bluetooth icon in the toolbar and select "Add Device..."
Select "Mobilinkd TNC", then click "Pair". Enter "1234" as the pin.
You will receive this message: “Paired successfully, but this device has no services which can be used with the Raspberry Pi.” This is not a problem and a sign that things are working correctly.

Create a KISS Port
Any time you wish to perform packet work you will need to create a KISS port. These steps should be run on every startup.
I have not yet created a startup script to do this, so it's a manual process for now.
- Open a terminal and scan for the available Bluetooth devices.
$ hcitool scan
Scanning ...
20:19:09:24:06:09 Mobilinkd TNC2
Copy the MAC address (i.e. 20:19:09:24:06:09) for your Mobilinkd and paste it as the last argument to the rfcomm command.
$ sudo rfcomm connect /dev/rfcomm0 20:19:09:24:06:09
Connected /dev/rfcomm0 to 20:19:09:24:06:09 on channel 1
Press CTRL-C for hangup
Open a new terminal and attach the KISS device.
$ sudo kissattach /dev/rfcomm0 wl2k